The idea of performing your own plumbing maintenance, minor repairs, or even installation of new fixtures, like faucets and garbage disposals, is an attractive one. Completing a home improvement project on your own can seem like a daunting task, but the sense of accomplishment you feel after it’s done far outweighs the dread. One of the most uncomplicated plumbing fixture repairs for the DIY minded homeowner is a shower head replacement, which shouldn’t take more than an hour to complete.
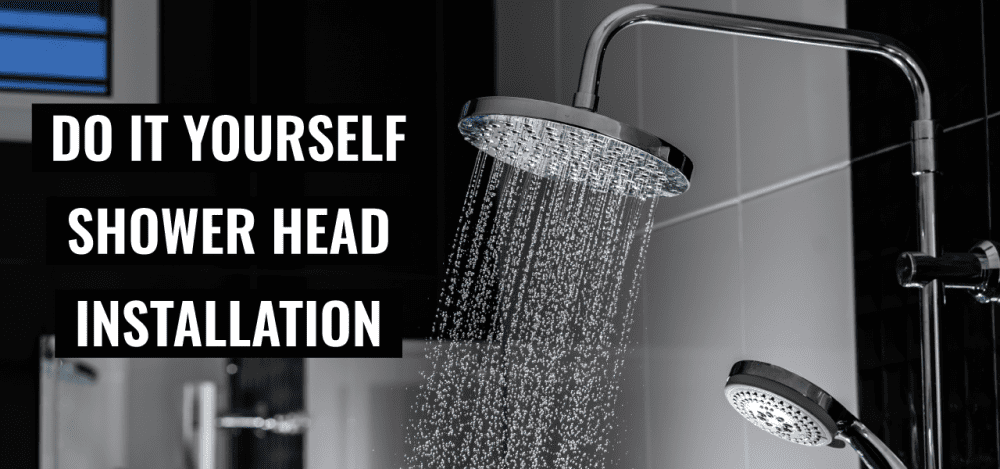
Why Do I Need a New Shower Head?
An 8-minute shower at a flow of 2 gallons per minute will use about 16 gallons of water. Depending on the number of bathrooms in your home, and how many shower heads are in use, you can expect to use about 23,000 gallons per year on showers alone. Remember that any leaky shower heads that drip when turned off can waste 5 gallons of water per day, or 2,000 gallons per year, per shower head.
Shower heads take a lot of abuse from the mineral-rich hard water we have in Houston. Limescale from these minerals builds up inside the shower head, which then clogs the water outlets, which increases water pressure, forcing water to be pushed out through the threads of the shower pipe. It is possible to clean the minerals out of the “nooks and crannies” of the fixture, but it’s usually best to replace the shower head. Hard water not only creates blockages in shower heads, but the minerals also wear away at the internal seals and water guides, leaving the potential for even more leaks.
What Tools Do I Need to Replace My Shower head?
Grab a set of adjustable (slip joint) pliers, a roll of Teflon tape, a roll of masking tape, a towel or two, and your new shower head and meet us in the bathroom.
How Do I Replace My Own Shower head?
You got here fast. Okay, let’s get started.
Step One: Turn off Water Supply
First, turn the water supply to your bathroom off to prevent any water damage should a pipe break or the faucet gets jostled. It takes some plumbers many years and many soggy uniforms to learn the importance of this first step. In newer homes, turning the water off to only that bathroom can be accomplished using your plumbing manifold. If you don’t have or don’t know where to find your plumbing manifold, turn off the home’s main water supply.
Step Two: Remove Old Shower head
Next, we’ll remove the shower head by grabbing the shower pipe with one hand and the shower head’s body with the other. You’ll need to apply a bit of elbow grease here, so don’t get discouraged if it doesn’t loosen right away. You should feel some give, as shower heads are not supposed to be fastened too tightly. Using your hands to loosen the old head and secure the new one helps prevent you from exerting too much pressure on the shower pipe and possibly stripping the pipe’s threads. If all else fails, and you cannot get that shower head to budge, try to loosen it with your slip-joint pliers.
Once you’ve removed the old shower head, peel off any existing white Teflon tape from the shower pipe’s threads. Using a fingernail, or a small screwdriver, peel away any tape or residue that remains in the threads.
Step Three: Apply Teflon Tape to Pipe Threads
Now, take the roll of Teflon tape you brought with you and wrap it around the shower pipe’s threaded end 2 – 3 times. Use a thumb and forefinger to press the tape into place in the threads. Be sure to wrap the tape in the same direction as the threads of the shower head you’re going to install; this will prevent the Teflon tape from binding up as the fixture is being tightened into place.
Step Four: Screw New Shower head Into Place
Lastly, take the new shower head and gently start threading it onto the overhead shower pipe, in a clockwise direction. Hand tighten the new unit onto the shower pipe, then give it a ¼ to ½ turn with your pliers. Be careful not to overtighten the new head onto the pipe; it is extremely easy to strip threads on the pipe, as well as in your new shower head.
Step Five: Turn Water Supply Back On
Once the new shower head is tightened up, turn the water supply to the bathroom back on. Turn on the shower and check for leaks around the union between the pipe and the shower fixture. There should be a noticeable increase in your new shower head’s water pressure, as they have become more versatile and efficient in recent years.
If you’re feeling overwhelmed by tackling this project by yourself, call Nick’s Plumbing and Air Conditioning to install your new shower head. Nick’s has been installing and repairing shower heads, bathroom sink faucets, toilets, and drain lines for over 40 years. Our licensed and experienced plumbing technician will happily provide you with a cost evaluation or second opinion on your shower head replacement service.
Call Us Today, We’re on the Way.

